10 Advanced Invoicing Tips to Get Paid Even Faster
Updated on December 15, 2024 | 7 min. read
Use these 10 advanced invoicing tips to improve workflow, save time, and get paid faster.
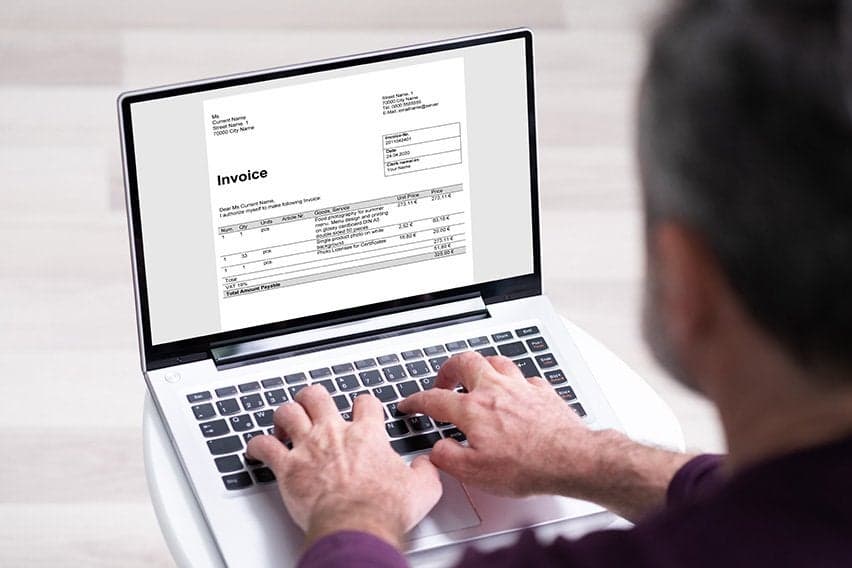
You’ve been sending invoices to your clients for a while now. While it’s fantastic whipping up an invoice in the cloud and getting paid online, you’re probably ready for advanced invoicing tips to tighten the screws and streamline the process even more.
After all, you know invoicing can be even easier, faster, and better integrated with other core business areas like project management.
The good news is, with FreshBooks, it can be. Here are 10 advanced invoicing tips for using FreshBooks to improve your workflow and get you paid even faster.
Watch this quick overview and read on for more detailed info.
Advanced Invoicing Tips for Improving Workflow
Get the most out of FreshBooks cloud accounting with these five advanced invoicing tips.
1. Copy an Existing Invoice
Creating a new invoice that’s similar to a previous one can be a hassle. Luckily you don’t have to do all of this hard work if you use the FreshBooks Duplicate Invoice Feature.
Simply open any existing invoice, click on More Actions and then Duplicate in the dropdown menu.

The invoice number updates automatically, giving you a brand-new invoice with all the previous content pre-filled. Edit to your heart’s content without having to start from a blank invoice every time.
Learn more in FreshBooks Support FAQs here.
2. Set up Recurring Invoices
Imagine creating an invoice just once, and having it sent to clients automatically on a schedule. This is the power of recurring invoices: Invoices you send to your clients on a recurring schedule.
Recurring invoices speed up payments, improve workflows, and free up time for other more important business activities. They’re great if you’re a service business that bills for a fixed number of hours each month or offers service packages to clients.
To get started with recurring invoices, simply enable the function when creating a new invoice in FreshBooks.

Learn more in FreshBooks Support FAQs here.
3. Roll Tracked Time into an Invoice
Do you bill hourly or have employees who bill hourly?
FreshBooks lets you track time against projects and clients, and converts it directly into an invoice. This integration improves your workflow by eliminating the need to flip between applications. It also ensures you accurately capture all billable hours.
To generate an invoice from your tracked time, click on Time Tracking in the left menu and Generate Invoice in the top menu.
Learn more in FreshBooks Support FAQs here.
4. Rebill Your Expenses
It’s common to incur expenses on behalf of your clients. In these instances, you want an easy way to rebill these expenses back to a client to recover their cost. Guess what? With FreshBooks, this is a breeze.

- Click on Expenses in the left menu and select an existing expense or create a new one. Then, mark the expense as billable.
- Next, assign a client to that expense.
- Now, create an invoice and assign it to the same client you assigned the billable expense to. When editing the invoice, click on Add a Line.
- The unbilled expenses will now show up against that client. Select it, edit your invoice, and hit send.
Learn more in FreshBooks Support FAQs here.


5. Quickly Turn an Estimate or Proposal into an Invoice
Estimates help kick off new projects with existing clients while proposals help you win new business.
Both these documents are crucial to delivering projects on time and on budget while ensuring project success.
But the success of any project depends on so much more than project delivery—it also relies heavily on invoicing and getting paid. Let’s face it, if you deliver the work and don’t get paid, your business will become unsustainable.
That’s why you need to connect project delivery and getting paid. FreshBooks creates this connection by letting you turn an estimate or proposal into an invoice with just a few simple clicks.
Once your client views an estimate or proposal, click More Actions while it is open and select Convert to Invoice.
You’ll now be presented with a New Invoice page. Edit the invoice as you see fit and hit send.
Learn more in FreshBooks Support FAQs here for Estimates and here for Proposals.
Advanced Invoicing Tips for Getting Paid Faster
Now that you’ve got a handle on improving invoicing workflows, let’s get you paid…faster, with these advanced invoicing tips:
6. Late Payment Reminders
If a client is late in paying an invoice, sometimes all they need is a gentle nudge in the right direction. Set up automated late payment reminders.
Rather than sending reminders manually, FreshBooks allows you to set up automatic late payment reminders via email, both before and after the invoice due date.
You can personalize the message or choose to send a simple reminder. These customized reminders can be sent ahead of time to prompt your clients before the invoice due date, helping prevent late payments. Additionally, you can create up to three reminders to ensure clients don’t miss your notification.
Plus, once you configure reminders for a client, they’ll automatically be applied to future invoices, saving you time and effort.
Learn more in FreshBooks Support FAQs here.
7. Late Payment Fees
If automatic late payment reminders aren’t enough to get clients to pay on time or at all, it may be time to up the ante and charge a late payment fee. We use the word “might” because charging a late payment fee isn’t always a good idea, and sometimes a softer touch is advisable.
For example, a client may be experiencing personal problems or be unable to pay the invoice due to unforeseen circumstances. It’s up to you to evaluate each situation to determine if a late payment fee is suitable.
If you decide it is, then it’s just a matter of deciding what to charge. Familiarize yourself with state laws to determine what amount of interest should be charged for late payments.
Once you’ve decided what to charge, it’s time to add these fees to your invoice—something that’s super easy in FreshBooks. With FreshBooks, you can add the late payment fee as a percentage of the invoice value or as a flat fee.
Learn more in FreshBooks Support FAQs here.
8. Bank Transfers (ACH)
ACH (Automated Clearing House) is a network that connects banks for the purpose of bank transfers. This network helps people and businesses easily and quickly transfer money between different banks without the need for checks. ACH is simply a fancy word for a bank transfer.
You can choose to send invoices with bank transfer as a payment option (credit cards are also available). It’s a great way to ensure your clients settle invoices fast, and ACH is a great way to get them paid. ACHE can get invoices paid as fast as credit cards, with a fee of only 1% per transaction (less than most credit cards).
To get started with Bank Transfers (ACH) in FreshBooks, first enable FreshBooks Payments or your preferred payment gateway. Then, when creating an invoice, give clients the option of paying online via credit card or bank transfer. If they choose a bank transfer, they will need to authenticate their account. Finally, FreshBooks will approve or decline the transaction based on whether they have enough funds.
9. Advanced Payments
Advanced payments give you a virtual terminal to securely store client credit card information, without relying on Word documents, notepad, or even sticky notes. You’ll be able to quickly and instantly charge clients while on the move or the telephone, directly from within FreshBooks.
As was the case with Bank Transfers (ACH), using Advanced Payments requires that you activating FreshBooks Payments. From there, add Advanced Payments and charge a client’s credit card by clicking Charge Card at the top of an invoice and Input the client’s details.
Learn more in FreshBooks Support FAQs here.
10. Apple Pay
Apple Pay allows users to pay without entering credit card details, using just their Apple device. Getting started is as simple as digitally registering a credit or debit card through Apple Pay. From there, people can pay for goods in-store by holding their device near a contactless card reader or make purchases in-app with a single touch.


Within FreshBooks, the latter is possible—as long as you’ve enabled Stripe and FreshBooks. The Apple Pay icon will appear on all invoices—at the top when using a desktop and at the bottom when using an iPhone. If clients are using an iPhone, they can pay by simply tapping the icon and using Touch ID.
The Bottom Line
You’ve mastered the basics of invoicing with FreshBooks, but to get paid faster and improve your workflow, it’s time to explore advanced invoicing features.
From automating recurring invoices to setting up late payment reminders, these tools will help streamline your invoicing process.
Why wait? Start using these advanced features in FreshBooks today and experience smoother, faster payments (for you and your clients).
This post was updated in December 2024.