How to Make an Invoice Without a Company Name
Updated on September 15, 2026 | 8 min. read



You’re a solopreneur the moment you get paid for work. Here’s how to invoice like one.
You don’t need to be incorporated or even have a company name. The moment you accept payment from a client or customer is when you’re officially in business. It’s when you officially join the ranks of the more than 36 million small businesses operating across the United States.
Whether you consider yourself a freelancer, side hustler, or solopreneur, that moment—and the exchange of funds for goods or services—makes you a sole proprietor in the eyes of the government.
This article walks you through what you need to know to invoice as a new sole proprietor.
🌟 KEY TAKEAWAYS

You don’t need a registered company or a business name to send a professional invoice. The moment a client pays you for work, you’re a sole proprietor by default.
An invoice without a company name is fully legitimate and legal. Your own name is your business name.
A complete invoice needs a handful of core details: your name and contact info, your client’s details, a unique invoice number, payment terms, and a clear breakdown of what’s owed.
Setting sequential invoice numbers and clear payment terms up front makes it easier to track who owes you and to get paid on time.
Invoicing software and templates take the formatting guesswork out of billing, so you can create consistent, professional invoices without starting from scratch.
What is a sole prop?
A sole proprietorship is the easiest and most common structure for starting a business in the United States.
It’s run by one individual—you—with no legal distinction between you and your business. You’re not incorporated as a sole prop, meaning you’re entitled to all profits. But you’re also responsible for business debts, losses, and liabilities.
This model is typically used for freelancers, side hustlers, independent workers, and anyone doing occasional paid work. To become a sole proprietor in the United States, you don’t have to take any formal actions. No registration is required, and you don’t need any start-up funds. As long as you’re the only owner, your business starts when your business activities start.
Once you provide a good or service in exchange for a fee, you can consider yourself a sole proprietor and a business owner, and you can create a self-employed invoice.


What should your first sole prop invoice include?
An invoice is a written ask: here's what I did, here's what you owe, here's how to pay me. It can be detailed or bare-bones depending on the job.
Here’s what to include on a typical solopreneur invoice.
1. Professional header
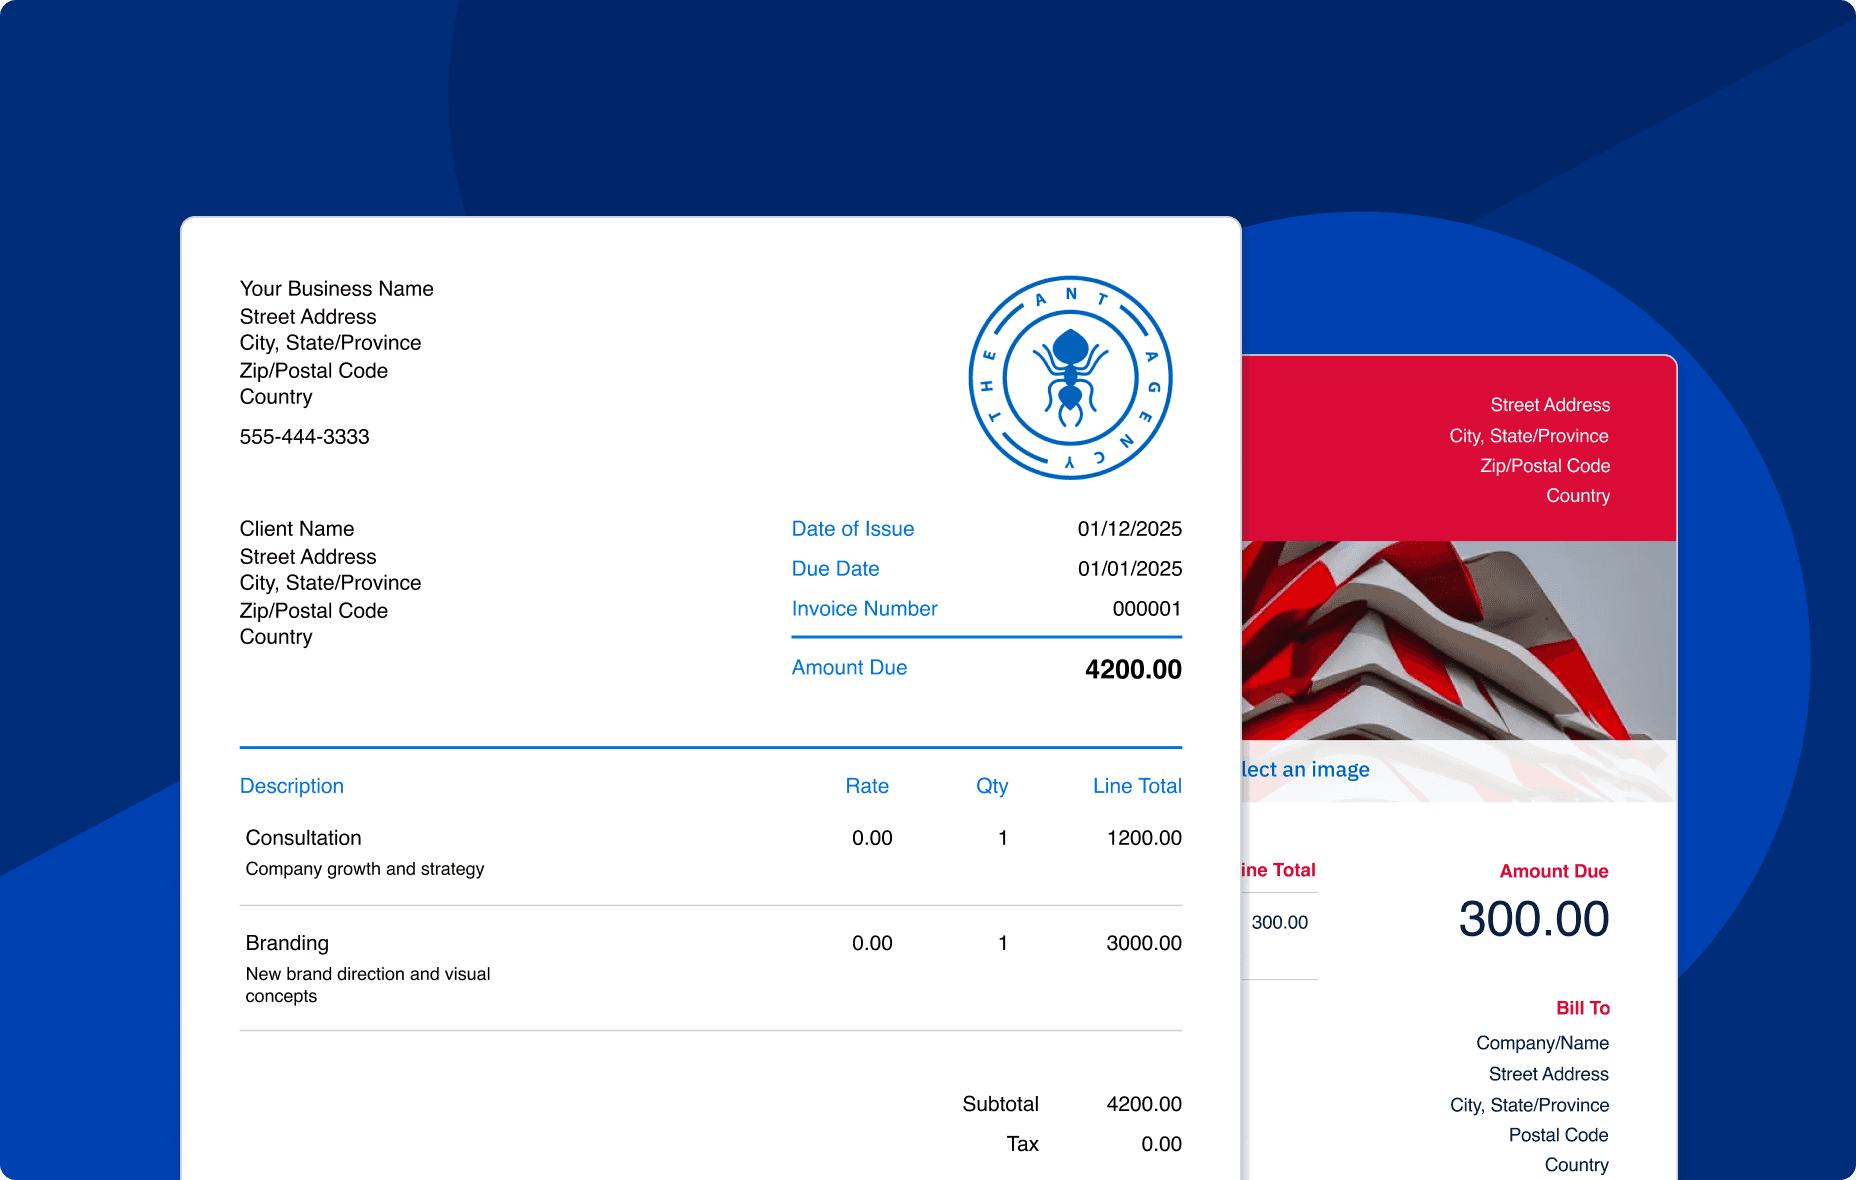
Your full name, or business name, if you have one, should be at the top of your invoice in an easy-to-read font that’s a little bigger (and bolder) than the other text on the invoice. Don’t worry if you don’t have a business name, though. Remember: the moment you get paid for work, you’re a sole proprietor by default. That means your name is your business name.
After your name, include your contact information: your mailing address, phone number, email address, and website. Put each item of your business address on its own line to make it easier to read, like this:
Your Name
PO Box 12345
Somewhere, USA 90319
555-321-7654
To make your invoice look more polished, consider creating and including a logo. This isn’t compulsory, but it’s worth thinking about if you plan to send a lot of invoices.
2. Client contact information
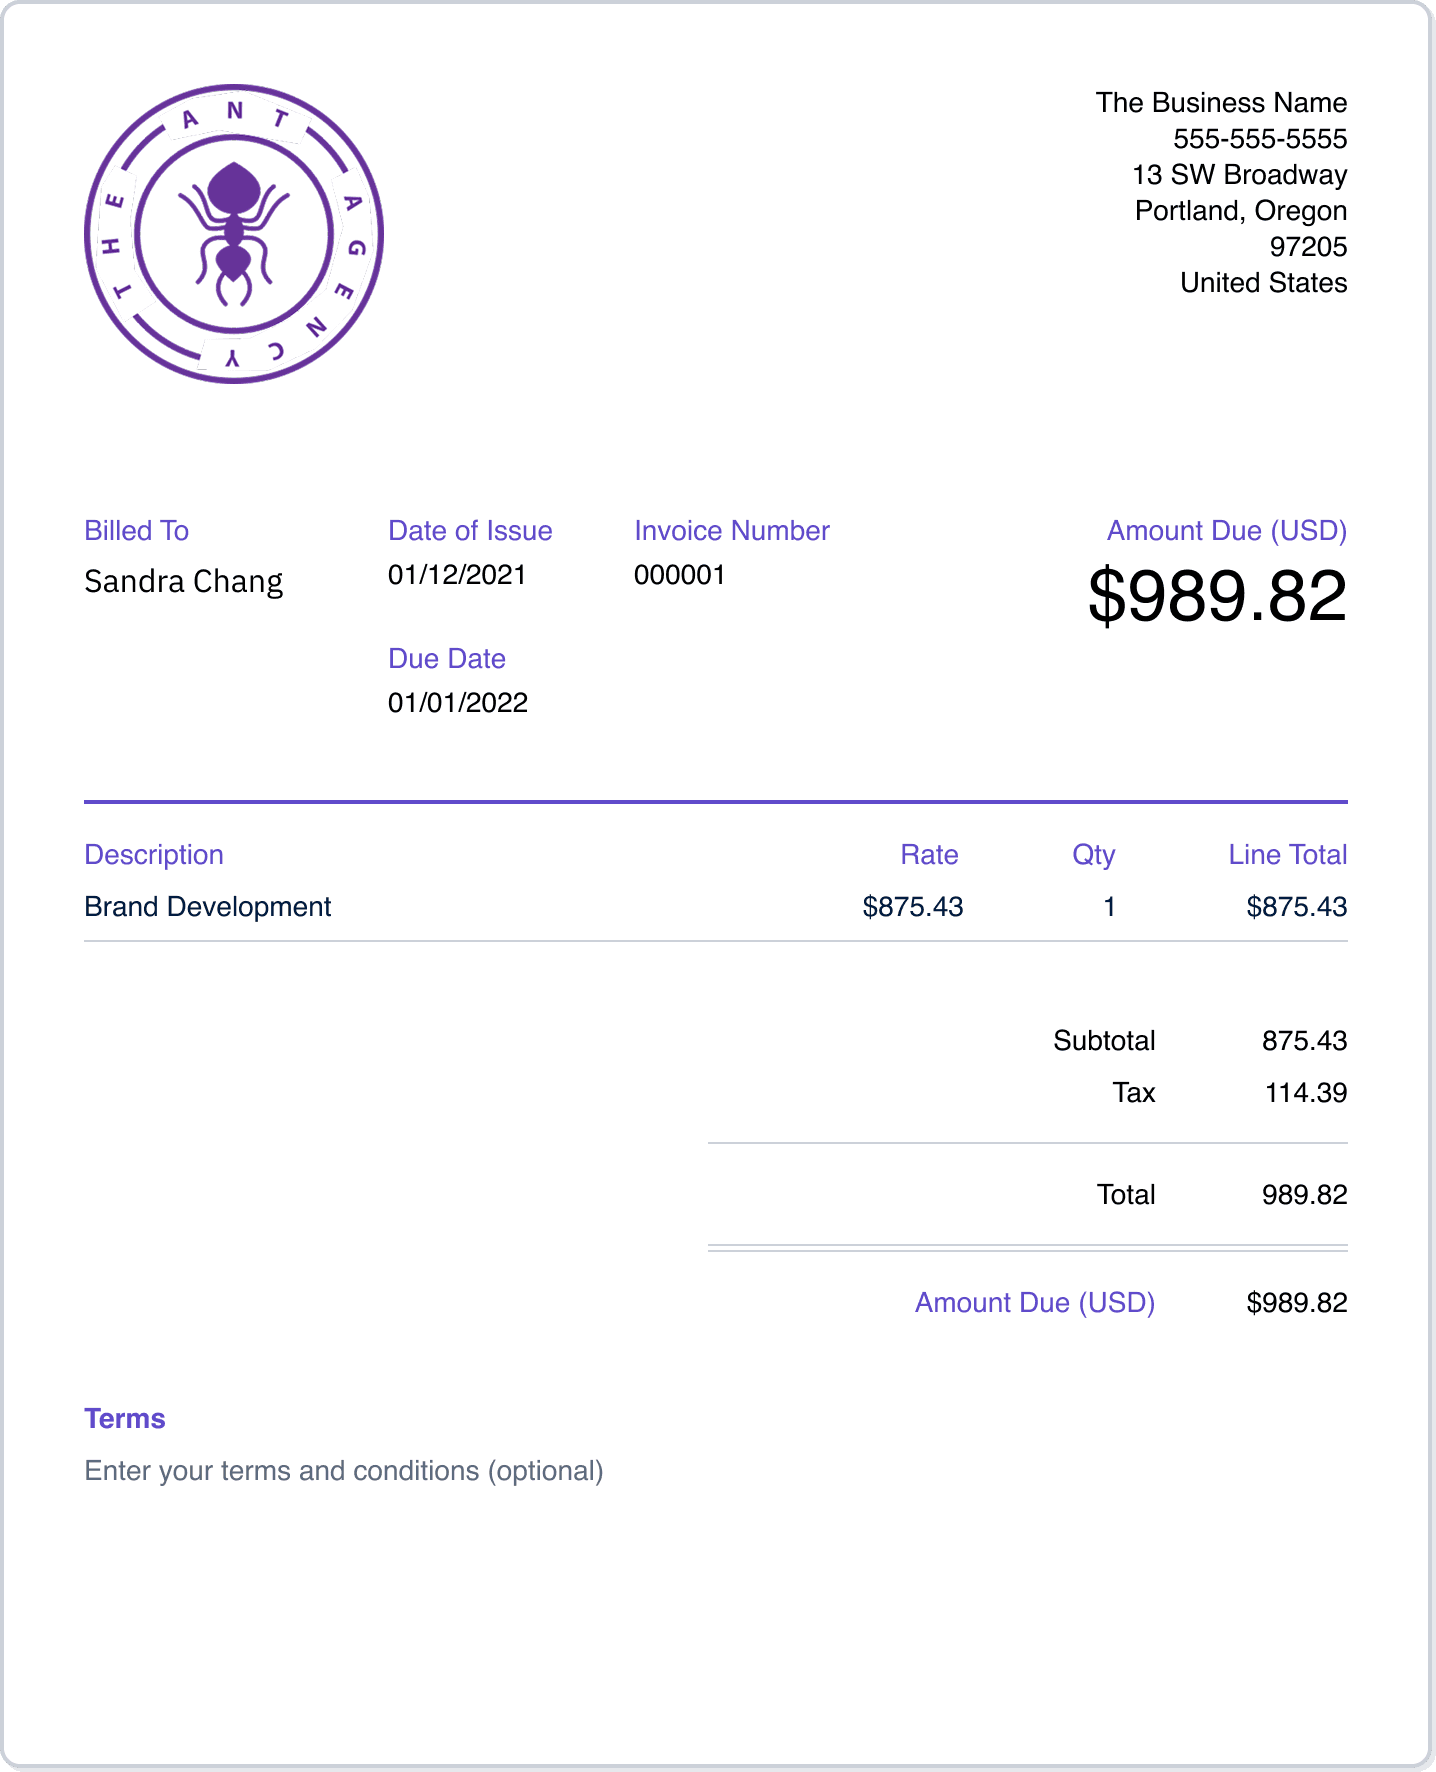
Next, specify who you’re sending the invoice to. This is the person or company you’re formally requesting payment from.
Below the header, include the recipient’s name, address, phone number, and any additional contact information.
Usually, your contact info should be on the opposite side from the recipient’s information. For example, if your business name and logo are on the top right of your invoice, your customer’s information should sit below on the left.
3. Invoice details
Below your business information, include your invoice details. This information is vital for both you and your client to keep track of the invoice and payments—especially once you start sending a lot of them.
Information to include here:
- invoice number
- date prepared
- payment date
Make sure your invoice numbering is sequential, so tracking stays easy. For example, start with INV 0001. Your next one is INV 0002, and so on.
To help you get paid on time—and within the agreed-upon timeframe—invoices usually set a payment window.. You can also make an invoice due upon receipt, meaning the recipient pays as soon as they get it.
Communicate your payment terms to the client in advance. Ideally, that’s through a written quote or contract, though a less formal channel like email works too.
Next, specify which payment methods you accept. Do you accept payments via cash, check, credit card, PayPal, or Apple Pay? List them so your customer knows their options.
Alongside your payment terms, include details of any late fees you may charge on past-due invoices. This gives customers an incentive to pay on time.
Do you have to charge sales tax?
Whether you charge sales tax comes down to what you sell and where you sell it—not whether you've registered a company. It works differently in the US and Canada, so here's a quick breakdown.
In the United States
There's no national sales tax in the US. It's set and collected at the state level (and often by counties and cities too). Five states—Alaska, Delaware, Montana, New Hampshire, and Oregon—don't actually have a statewide sales tax at all, illustrating why it’s important to check your state-level and region-level taxation rules when starting a business.
When it comes to sales tax across the U.S., what you sell is what matters most.
Physical products are generally taxable, so if you sell goods, you'd register with your state's department of revenue, collect sales tax at checkout, and list it separately on your invoice.
Services are a different story. Most states don't tax them, so many freelancers and service providers don't ever charge sales. A handful of states are exceptions to that rule, though, so it's worth confirming what applies to your business.
For example, in most states, a freelance copywriter won't charge sales tax on their writing. But if they also sell printed workbooks, those goods generally are taxable. Your state's department of revenue is the final word on what applies to you.
In Canada
Sales tax in Canada—GST/HST administered by the Canada Revenue Agency (CRA)—works differently. What matters is how much you earn, not what you sell.
If your taxable revenue stays at or below CA$30,000 over four consecutive calendar quarters, the CRA treats you as a "small supplier," and you don't have to register for or charge GST/HST.
Once you pass $30,000, you're required to register and start charging it—even as a service provider.
For example, a freelance consultant billing $45,000 per year must register for a GST/HST account and add that line item to their invoices. A part-time bookkeeper earning $18,000 doesn't have to, though they can register voluntarily to claim back tax on their business expenses.
The exact rate you charge depends on the province in which you’re doing business. For example, HST applies within Ontario. While only GST applies in Alberta.
Because sales taxes vary so much by state and province, check with your state's department of revenue or the CRA before you send your first invoice.
For a closer look at building a compliant invoice, see how to make a tax invoice.
Consider using invoicing software
Rather than creating paper or manual invoices, consider using small-business software that supports invoicing, such as FreshBooks.
Online templates and business management software take the busywork out of billing, helping you create and track invoices without having to start from scratch.
Invoice templates are one of the easiest ways to simplify client billing. With a template, you don’t have to worry about formatting or forgetting a required detail, which makes creating new invoices and tracking outstanding invoices much easier.
Check out these invoice templates for the self-employed from FreshBooks.
Quick tips for smooth invoicing
Invoicing doesn’t have to be a time-consuming part of running your small business.
Follow these quick tips for smoother invoicing:
- Practice creating invoices with FreshBooks’ free invoice templates.
- Use the FreshBooks invoicing feature for fast, professional invoices that get quick results.
- Use online invoicing software to manage invoices and keep information consistent from client to client.
- Set up automatic payment reminders for past-due invoices.
- Set aside time at the start and end of your workday for invoicing tasks: creating new invoices, managing past-due ones, and tracking payments.
- While it’s not mandatory, try to have a formal contract in place before starting work and issuing an invoice. This ensures both parties understand the terms and gives you legal protection in case of disputes.
Remember, you become a sole proprietor and business owner the second you issue an invoice and get paid for your work. Even without an official company name or flashy logo, your invoices are fully legitimate and legal.
Invoice like the business owner you already are
You don’t need a clever business name or a logo to send your first invoice. All you need is a product or service that your customers love and are willing to buy. Once a sale is made, you can officially consider yourself a business owner.
To start invoicing like the business owner you are, all you need is your name, your client’s details, and a clear breakdown of what you’re owed. Include all of the relevant details from this article in your invoice, and hit send to get paid.
And when you're ready to make billing faster and keep your payments on track, business management software like FreshBooks can take care of the busywork so you can spend your time on the work you set out to do.
Posts